- Home » How to Set Up a Long Arm Quilting Machine in Your Workspace
A long arm quilting machine in your workspace can be a game-changer for professional quilters and hobbyists alike who want to take their craft to the next level. These machines are designed to handle large quilts with precision and speed, offering a wealth of creative possibilities.
However, setting up and configuring the machine requires careful consideration of space, machine setup, and alignment to ensure optimal performance. In this guide, we will walk you through the essential steps and tips to set up a long arm quilting machine in your workspace efficiently and effectively.
Choosing the Right Location
The first step in setting up a long arm quilting machine is to find the perfect place for it. Long arm machines are generally big and require a lot of space, not only for the machine but also for the quilt you will be working on. A well-chosen space can greatly enhance your comfort and efficiency.
Space Requirements: Make sure you have adequate space to accommodate the machine, ideally at least 10-12 feet in both length and width. Long arm quilting machines are mounted on frames of various sizes, but generally speaking, you will need about 8 feet of clearance behind and in front of the machine in order to maneuver your quilt properly.
Height Considerations: Make sure the ceiling height is high enough for the machine’s frame and allows easy movement of the quilting area. Some long arm quilting machines require a minimum ceiling height of around 8 feet to accommodate their full extension.
Flooring: The floor should be level and robust. Concrete or wood floors are ideal for this as they will put up with weight and vibration from the machine, this is unlike soft surfaces such as carpet. If your floor is uneven, use floor leveling pads or adjust the machine’s height to compensate.
Unpacking and Assembling the Machine
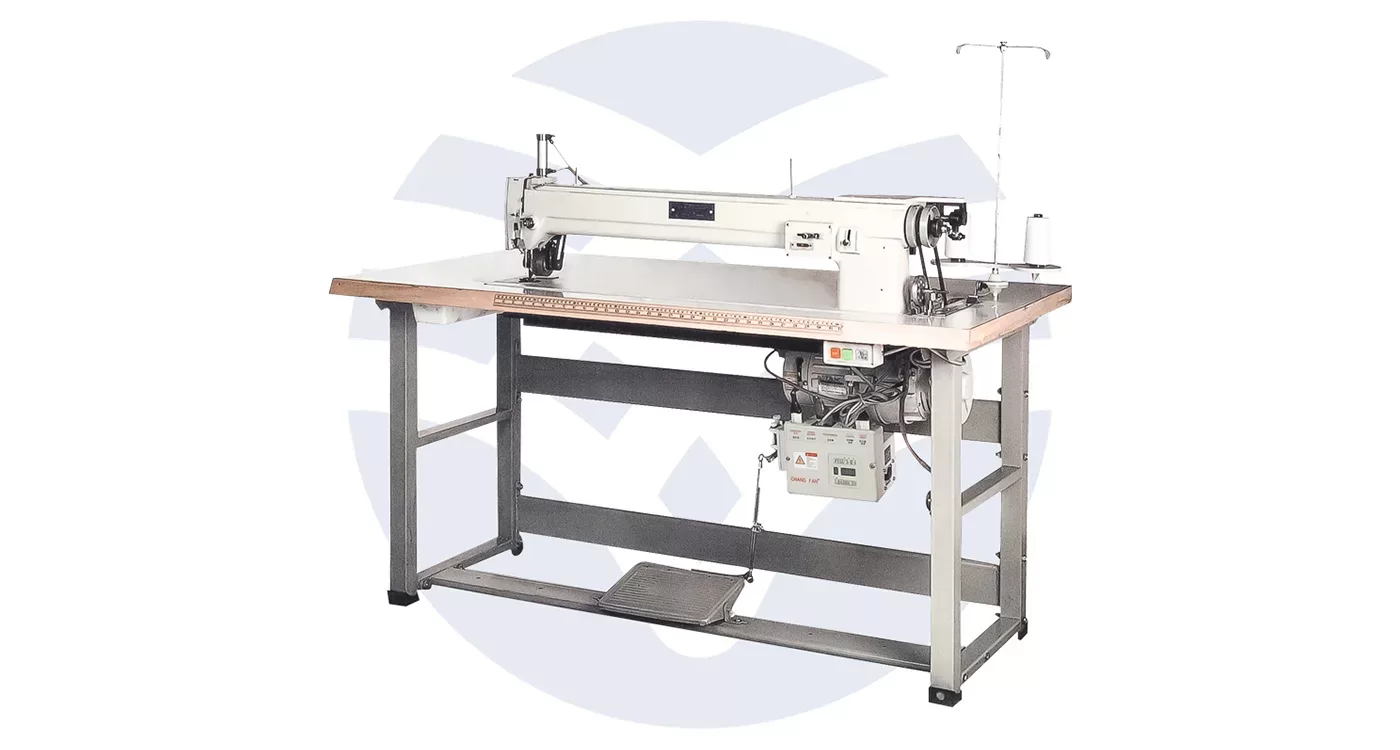
Once you’ve identified the best place to locate your machine, it is now time to unpack your long arm quilting machine and get on with assembling. Most long arm quilting machines do have set-up instructions that go into detail, but here are a few general tips that can also see you through.
Unpacking: Carefully unpack all parts of the machine, making sure that you have everything listed in the manual. Most long arm quilting machines are usually in separate pieces: the frame, the quilting head, and other additional accessories.
Assembling the Frame: Assemble your frame, the supporting structure on which the quilting machine will move. Most quilting frames consist of large sections that will need to be bolted together. Make sure to assemble a level frame to prevent misalignments in your quilts. If the frame is adjustable, adjust it according to the desired size based on quilting needs.
Installing the Quilting Head: After the frame is set, attach the quilting head or the moving part of the machine to the frame. This head will normally glide along a set of rails, so the rails should be aligned and oiled to reduce friction while quilting. Ensure that the machine is securely attached to the frame and moves around smoothly without any hindrance.
Adjusting the Machine for Optimal Performance
With your machine assembled and in position in your workspace, it is time to make the fine adjustments necessary for its smooth operation and accuracy. Proper adjustments will help avoid issues like skipped stitches, thread tension problems, or uneven quilting.
Leveling the Machine: Use a spirit level to ensure the quilting head is perfectly level and aligned with the frame. If the machine isn’t level, it will result in uneven stitching or issues with quilt tension.
Thread Tension: Adjust the top and bottom thread tension to ensure that the threads meet evenly in the middle of the quilt layers. This is crucial for achieving professional-quality quilting. Some long arm machines have an automatic tension system, while others may require manual adjustments. Always test on a scrap piece of fabric before starting on your quilt.
Stitch Length: Change the length of the stitches depending on the type of quilting design that you want to make. Longer lengths are usually used in larger patterns or decorative stitching, but shorter stitches will give fine details.
Setting Up the Quilting Area
In addition to the machine itself, your quilting workspace should be organized to maximize efficiency and comfort. The quilting process involves handling large pieces of fabric, so it’s important to have adequate space to move the quilt through the machine.
Quilt Sandwich Preparation: Before commencing to quilt, let your quilt sandwich, that is the top fabric, batting, and backing be well prepared: smooth, no wrinkles, and evenly layered. If you’re working on a large quilt, you may want to hold all three layers together with either basting pins or spray adhesive.
Rollers and Fabric Tension: Most long arm quilting machines come with adjustable rollers that help maintain tension on the quilt as it moves through the machine. Ensure that the rollers are properly tensioned so that the fabric feeds smoothly. Check that the quilt is centered on the rollers and has even tension to prevent shifting during quilting.
Workspace Organization: Create a clean, organized space around your long arm quilting machine. Consider using shelving units or bins to store fabrics, threads, needles, and other quilting supplies. Keep essential tools within easy reach to minimize interruptions while quilting.
Connecting and Configuring the Machine’s Electronics
Modern long arm quilting machines often come with an array of advanced electronics such as touch screens, stitch regulators, and programmable patterns. Setting up the machine’s electronics is key to accessing all of the capabilities.
Power and Connectivity: The machine should be plugged into a dedicated power source and, if possible, it has to be properly grounded. If the system in your machine is computerized, connect all necessary cables and interfaces to your computer.
Software and Settings: If your machine comes with a computerized system, get everything loaded: drivers and any other updated software relevant to a compatible operating system. Also,a program in some patterns, stitch speeds, or a few of your desired quilt modes.
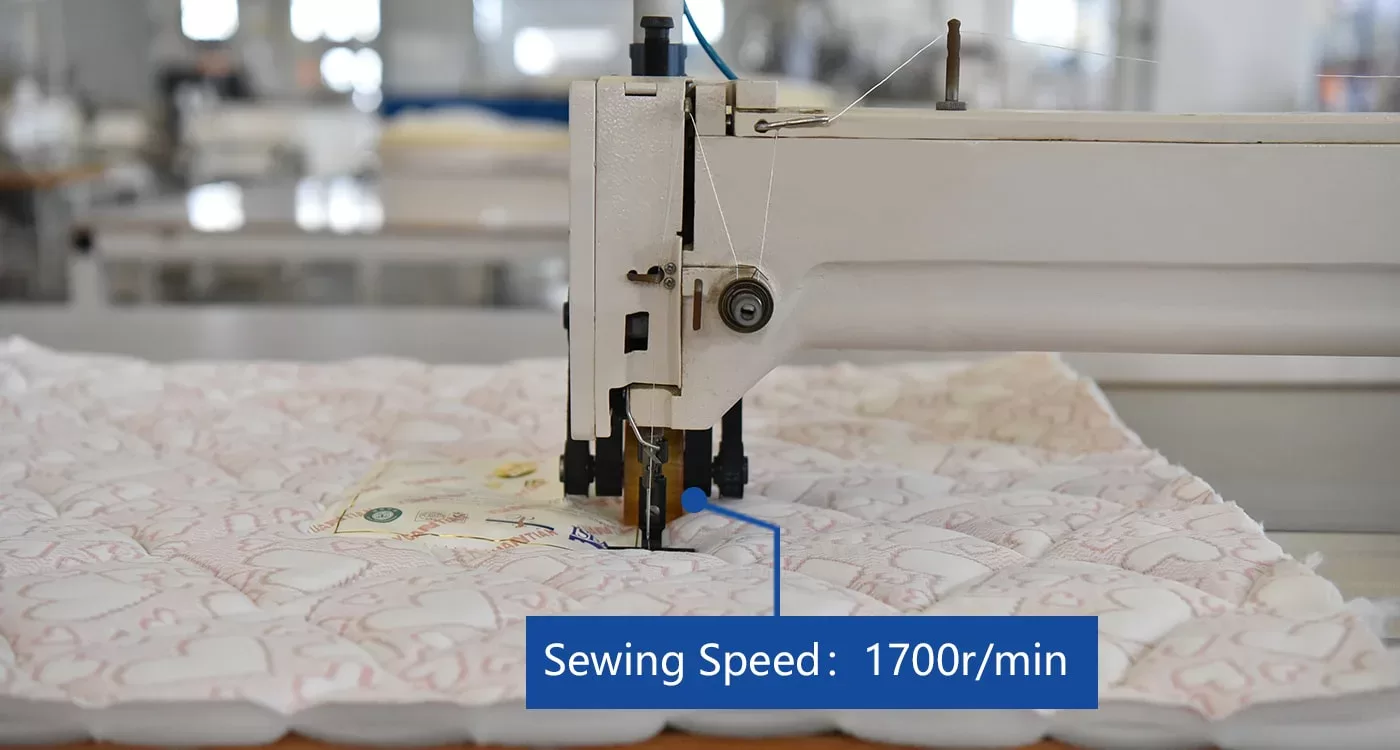
Testing and Calibration: Make a few test stitches to ensure the machine is calibrated. Check that the stitching is even, thread tension is correct, and the movement of the machine on the frame is smooth. Any settings should be changed if necessary to fine-tune the machine.
Safety and Maintenance Considerations
Your long arm quilting machine is an investment, it requires proper setup and regular maintenance to perform well. Be sure to take time to learn all the necessary safety procedures and maintenance that will be required.
Safety Precautions: Always use caution and follow the manufacturer’s guidelines concerning safety, particularly when working with needles, high-speed machinery, and electrical components. Make sure the machine is turned off and unplugged when performing maintenance or adjustments.
Routine Maintenance: Clean the machine on a regular basis to remove dust and dirt, which can compromise the effectiveness of its performance. Replace needles as needed, lubricate moving parts per manufacturer recommendations, and inspect the frame for any loose screws or bolts.
Conclusion
Setting up a long arm quilting machine in your workspace involves careful planning, assembly, and adjustments to ensure that everything functions smoothly. By selecting the right location, assembling the machine properly, and making key adjustments to optimize performance, you can create a quilting environment that enhances your creativity and productivity. With a properly set-up long arm quilting machine, you’ll be able to tackle even the largest quilts with ease and precision, producing beautiful results every time.
Связанные с ними товары
