How to Adjust Tension and Speed Settings on a Mattress Quilting Machine
Date:2024/10/09
View:1433
Related Products

Mattress Production Line
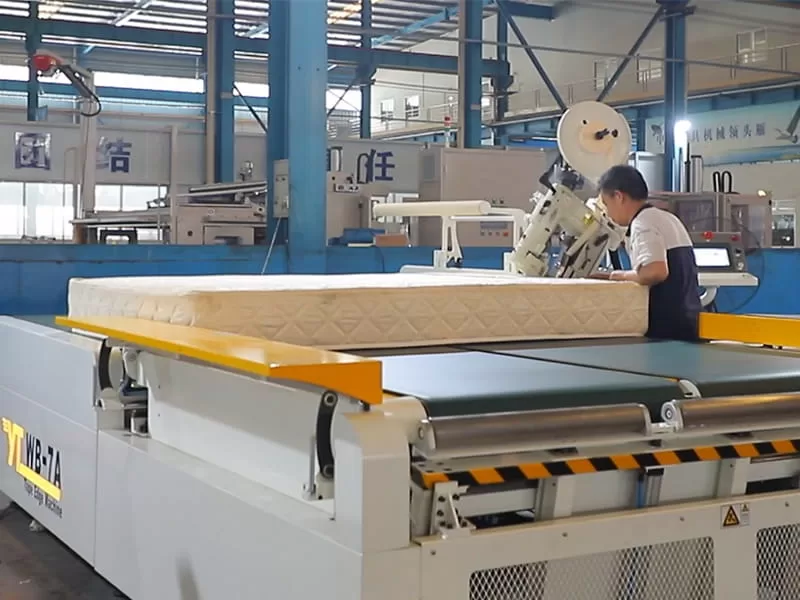
Mattress Tape Edging

Spring Manufacturing

Mattress Packaging

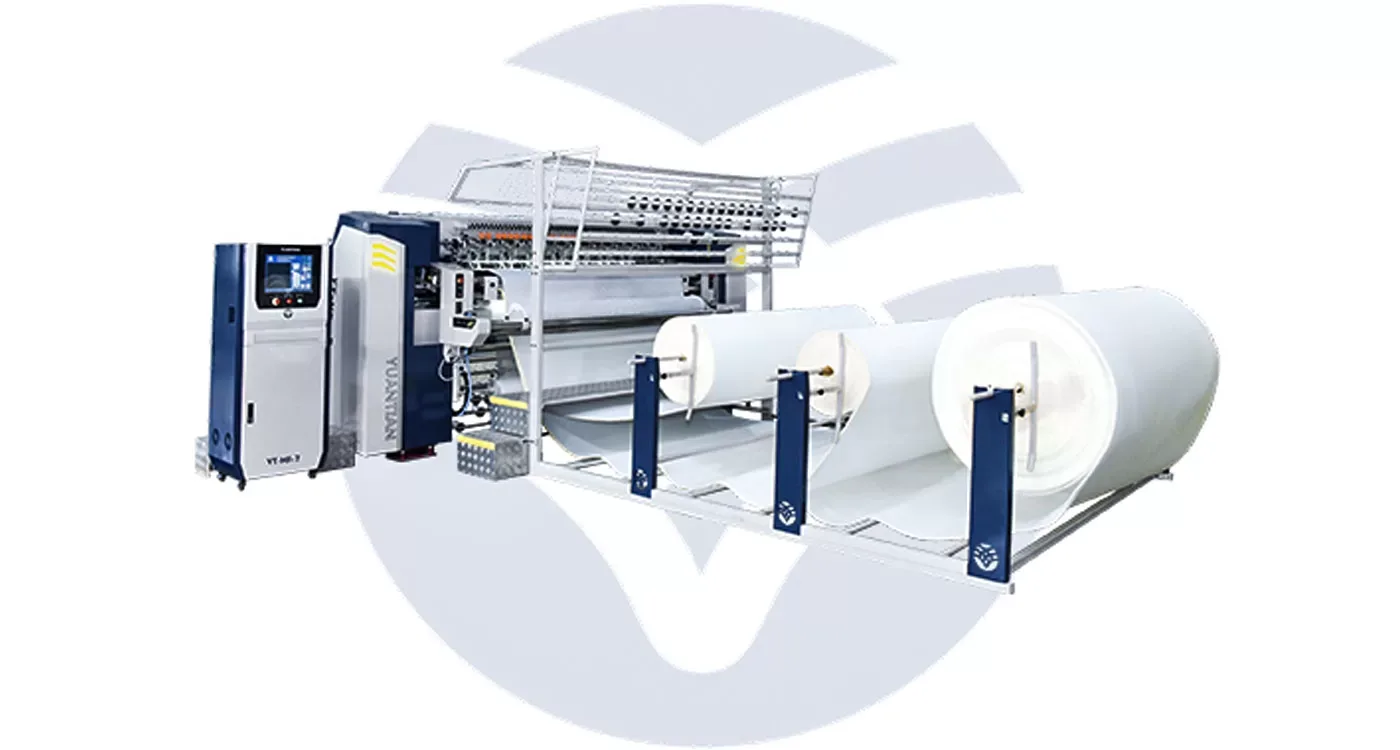
Mattress Quilting

Mattress Spraying Line

Mattress Tufting Machine

Mattress Auxiliary Modules
Mattress quilting machines are essential in the mattress production process, creating intricate patterns and layers that provide both aesthetic appeal and functional support to mattresses. Proper adjustment of tension and speed settings is crucial to ensure high-quality stitching, smooth operation, and the longevity of the machine. Misadjustments can lead to poor stitching, fabric damage, and inefficient operation.
This guide will walk you through the process of adjusting both the tension and speed settings on your mattress quilting machine for optimal performance.
Understanding the Importance of Tension and Speed Settings
Before actually going into the adjustment process, it is necessary to understand why tension and speed settings are so important on a mattress quilting machine. Both factors have a great influence on the quality of stitches and, therefore, on the general efficiency of the machine.
Appropriate tension ensures that the thread runs freely through the machine without breaking or forming knots, while the appropriate setting of speed maintains a balance between production efficiency and precision.
The Role of Tension in Stitch Quality
Tension refers to the tightness or looseness of the thread as it passes through the needle and fabric. It controls how the upper and lower threads interlock to form a stitch. If the tension is too tight, it can cause the thread to break or lead to puckered fabrics. On the other hand, if the tension is too loose, it may result in loose stitches that unravel easily, compromising the durability and appearance of the quilted fabric.
The Impact of Speed on Production and Quality
The speed of a mattress quilting machine refers to how fast the needle moves up and down, creating stitches. The higher the speed, the greater the production, but it may reduce the accuracy of the stitches on intricate designs or heavier fabrics. Slower speeds give the machine extra time to form each stitch precisely, thus reducing the risk of mistakes but probably slowing down production.

Adjusting Tension Settings on a Mattress Quilting Machine
Correct adjustment of tension is essential for achieving even, smooth stitches. Various materials and thread types will necessitate slight changes in the tension setting. The steps below describe, in general, how tension adjustment is performed in most mattress quilting machines.
Step 1: Identifying Tension Issues
Check for any tension issues before making any adjustments. When stitches are loose, a little irregular, or the thread breaks more often, there is probably a problem with the tension. A quick test stitch on an available scrap piece of fabric will show these issues. Look for regular stitches with no puckering or loops.
Step 2: Adjusting the Upper Thread Tension
Most of the mattress quilting machines provide a tension dial or knob for upper thread tension. Normally, it is done by small clockwise turns to increase the tension and counterclockwise to loosen. Subsequently, after each turn, run a test stitch and evaluate the results. If the upper thread is too tight, the stitch will pull the lower thread to the top. Contrarily, if the tension is loose, then the upper thread may loop or even sag.
Step 3: Adjusting the Bobbin (Lower Thread) Tension
Meanwhile, the bobbin thread tension is equally important, though it often requires fewer adjustments than the upper tension. Most machines will provide for an adjusting screw accessible on the bobbin case using a small screwdriver. Make small adjustments and then test after each adjustment. The tightening of bobbin tension pulls the upper thread down. By loosening the bobbin tension you allow the bobbin thread to relax, the result is better stitch balance.
Step 4: Balancing Upper and Lower Tension
The tension balance should be the same between the top and bottom threads, both should pull to lock a perfect stitch in the middle of the fabric layers. This is when stitching will also go on even, smooth, without puckering or looping. Find this perfect balance through trial-and-error testing, where each adjustment is checked by running test stitches and visually inspecting the results.
Adjusting Speed Settings on a Mattress Quilting Machine
The speed of operation of the quilting machine affects both the stitching accuracy and productivity of the work as a whole. In theory, it should be a balancing act between demands on production and expectations in terms of quality. These are the general steps in adjusting the speed settings for most mattress quilting machines.
Step 1: Assess the Fabric Type and Design
The type of fabric and the intricateness of the design, of course, need consideration first before adjusting speed. Heavy fabrics or complicated patterns are usually done at slower speeds to ensure exact stitching. Higher speeds may be employed if the materials are lighter or the designs are simpler.
Operation of the machine in too great haste in heavy fabrics could mean skipped stitches or broken threads, while the use of too slow a speed on light fabrics would not be warranted, perhaps lengthening the production time.
Step 2: Adjusting the Speed Control
Most mattress quilting machines feature either a manual speed dial or an electronic control panel that allows the operator to preset the needle speed. First, select a moderate speed and see the result. Progressively increase the speed while observing the stitch quality. If the machine starts to skip stitches or break the thread, the set speed is too high and should be reduced.
Step 3: Finding the Optimal Speed for Each Job
Once these changes have been made to your speed, complete several test quilts that will help you find the optimal setting. Consider stitch quality and production speed. Some of the higher-end machines have programmable speed settings designed to be pre-set for specific fabrics and designs. Using these settings can save time and decrease the margin of error in high-production settings.
Step 4: Monitoring the Machine During Operation
After selecting the desired speed, monitor the machine continuously in operation. Watch out for any unusual noises, skipped stitches, or threads that break, as these may indicate that the speed applied is too much to handle for a particular fabric or thread. Regular oiling and cleaning will also see to it that the machine works at an efficient level regarding the chosen speed.
Tips for Achieving Optimal Performance
Regular Maintenance
Proper maintenance will keep your tension and speed under control. Regular cleaning of the machine, oiling the moving parts, and replacing worn-out parts, especially the needle and feed system-are necessary.
Use High-Quality Threads
Utilizing low-quality threads leads to frequent adjustment of tension and poor stitch quality. Always use high-quality, durable threads designed for quilting that minimize issues and maintain even tension.
Keep Consistent Settings for Repetitive Projects
If you’re working on a large batch of mattresses with the same design and materials, it’s wise to keep a record of your tension and speed settings. This will save you time and ensure consistency across multiple units.
Conclusion
Adjusting the tension and speed settings on a mattress quilting machine is essential for achieving high-quality, consistent stitching. By fine-tuning the upper and lower thread tensions and carefully controlling the machine’s speed, you can optimize performance and ensure the durability and comfort of the mattresses you produce. With practice, you’ll be able to quickly and efficiently make these adjustments, leading to improved productivity and better results in your quilting projects.